Suzuki GT380 Carburetors
Over the years I've managed to accumulate a bunch of bits and pieces to help support the various Suzuki triples I have and have had over last 30+ years.
Given the 'lockdown' situation in 2020, I though it would be an ideal time to sort some of the stuff out and specifically sort out some carburetors for the current bikes I'm working on.
Step 1 was to pull all the bits and pieces together from various places from the garage to the loft.
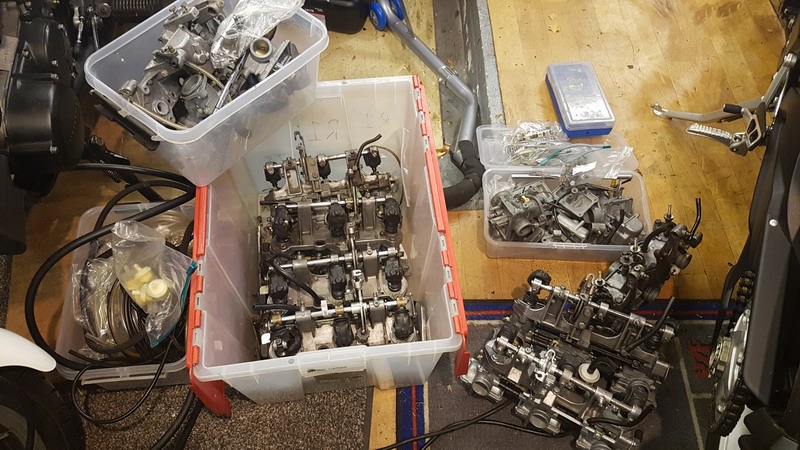
These were in the garage as a starter and including the 4 sets currently on bikes, I have enough for the projects and some spares.
Next step was to check what additional gaskets and spares I had to replace any worn out bits during the restorations. Found I'd got a few sets of replacement internals for both bikes, so good starting point.
Also had a couple of NOS rubber 'elbows' and 5 of the other 'concertina' rubbers, all NOS and still in bags. Not sure exactly when I got these, but somewhere in the last 5 years.
The elbows were fine, but the other rubbers were completely useless and had turned to mush while still sealing in their bags. Really not impressed!
They looked fine when still in the bags, but were sticky to the touch and once touched they just went like play dough, no use for anything.
As most of the sets need replacement rubbers then this will delay things a bit until I get some more, but I can cobble enough together to get a few sets underway to start with.
Also have a few tins of Carb cleaner which typically gets used a lot during this process, very good at removing the black slime left when those rubbers have melted.
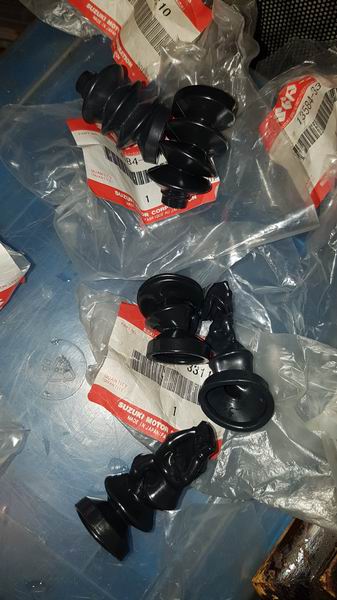
I've decided to give the genuine Suzuki rubbers a miss this time as the quality was poor. At the time of writing this, best place seems to be Legend Motorcycles. Spoke to Dan there and 9 Carb kits, 9 elbows and 9 of the other rubbers for £200.
Assuming a bank of Carbs needs a full package of these bits, and that it doesn't need otter things like floats or throttle values replaced etc., then that roughly £65. Plus time and other bits and bobs.
Initial build and setup will be on the bench, but the only way to test these will be actually on bikes. Therefore have setup one 380 and one 550 to help.
GT550
GT380
The 550 happened to be on the bench for something else and the 380 will have the additional benefit as not had a chance to do anything to it since purchased from a friend last year and hasn't been on the road for some years. The downside being I may get distracted and felting with other bits.
Fist bank of Carburetors to test are Set L (GT380)
These are actually the set that came with my mate's bike, also the bike I'm using for these tests. Tested first as they were already on the bike and I've not had the chance to look at these on the bench as yet. Wasn't expecting much as been on a bike that stood for over 5 years.
Took off Airbox and fitted K&N filters and a pretty nice surprise that the bike fired up nicely, albeit after a fair few kicks. There was a leak out the overflows initially, but turned fuel off and tapped the carbs with a rubber hammer and retested without fuel leak, so put this down to not having been used for a while and one of the floats stuck open. Bike would then restart 1st kick. Not bad!
Tests performed with cables and fuel supply connected:
1. Leave for 15 minutes on Pri to check if there are any leaks of petrol coming out overflows
2. See if the bike starts with Choke on and if all 3 cylinders fire up
3. Responsiveness to throttle and how the revs drop back down
4. With Choke off, does the bike return to a tickover and does it run happily on tickover for 2-3 minutes on all cylinders
5. Were there any issues or leaks during these steps
Note that I'm not going to do the cylinder balance tests at this time as all I wanted to ensure was the carbs were working enough to put away until the project they will be used on is ready and will then balance to that specific engine setup.
As expected, the check of the bowls tell me the internals will need a clean.
First set which has been on the bench - GT380 (I refer to as Set B)
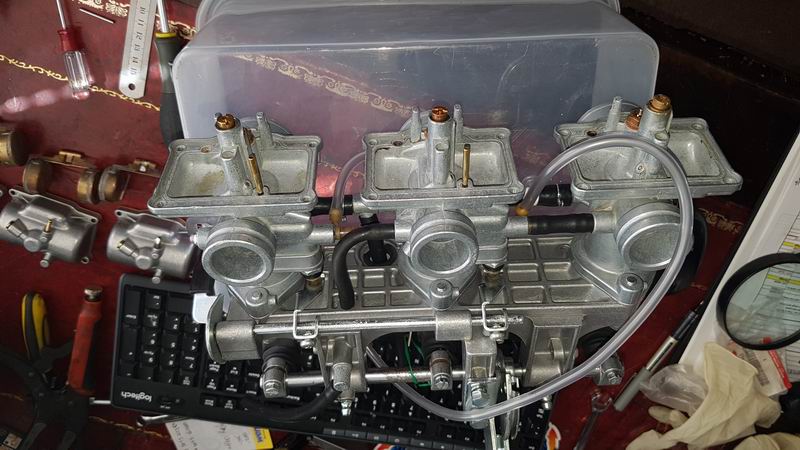
I got these from a chap who had stripped and cleaned them but when I went to use they didn't work and not had time to sort until now. All seems fine on the top end and has new rubbers fitted and nothing missing.
On the internals I found a fair amount of grit, almost like when they had been blasted then had not been properly cleaned out afterwards. You may be able to see the sort of yellow-ish colour in the picture. Brass internals were used but had been cleaned pretty well, so will try as-is for now.
Set about with carb cleaner and various small brushes into all the jets and air / petrol ways. Set floats to 26mm and bench balanced.
Fitted to the bike and performed above tests. All worked well.
Once tested on the bike, removed and checked the petrol levels in the bowls.
I do this by hanging from the garage root and remove each bowl one at a time and measure the distance from the top of the fuel level to the the top of the bowl.
11-12mm is usually good, anything outside of that then it's worth looking a the float heights again.
Steps are the same for all the sets, so won;t repeat this each time.
Next, Set C (GT380)
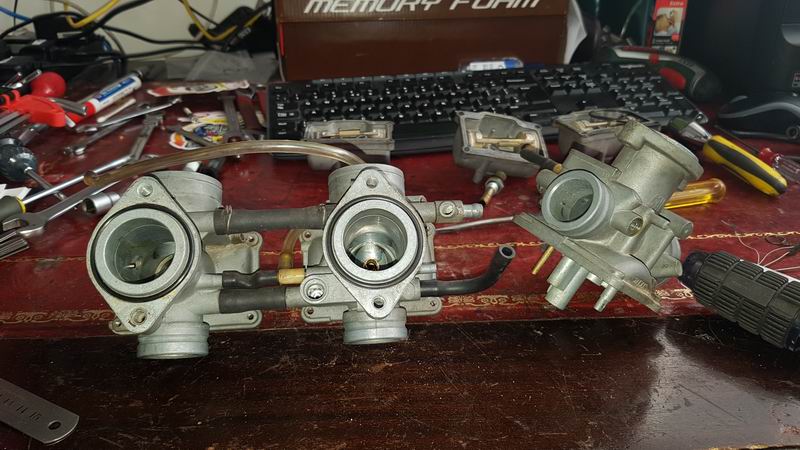
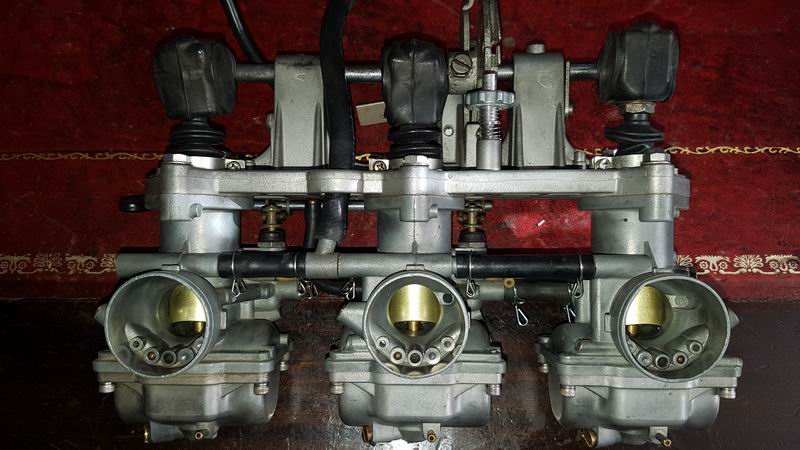
As with above, forgot to take pre work pictures for these so just see the set apart during the process.
Stripped and cleaned all parts. Used existing set of rubbers and replaced a few with ones from other spare sets. Replaced top rubber seals and a few on the internals. Most of the pipework was hard, so replaced with new. Set floats to 26mm and bench balanced. Ready to be tested. Replaced top rubber seals and a few on the internals. Most of the pipework was hard, so replaced with new. Set floats to 26mm and bench balanced. Ready to be tested.
Fitted to bike and performed tests.
Fitted to bike and performed tests.
Initial test had a few overflow issues but bike started well and these overflows stopped. Not as clean and crisp as other sets during the tests and when checking the bowls afterwards the Left and Right were only showing 8-9mm gap from top of fuel level to the bowl lip, so will need to check the floats again.
Good enough for now though.
Set X (GT380)
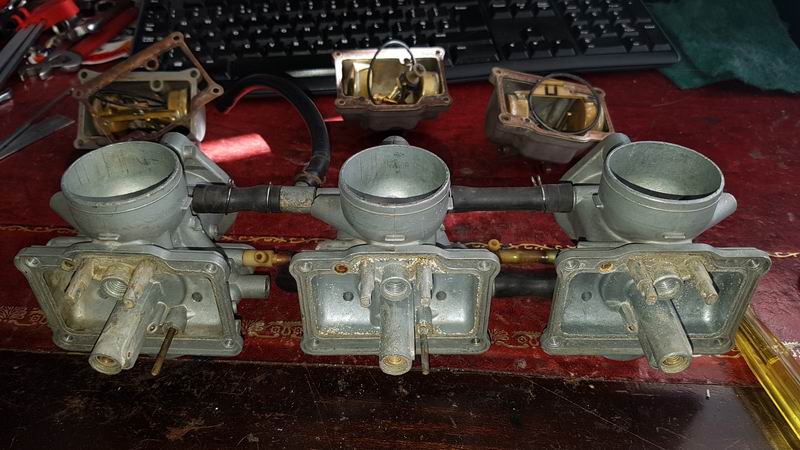
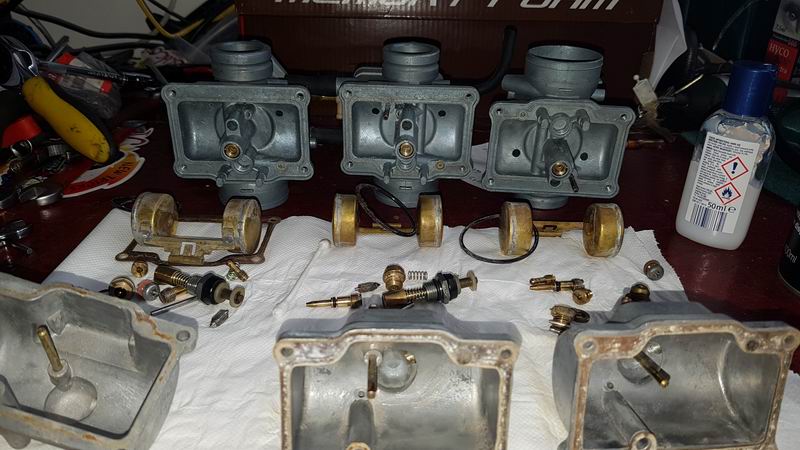
Top sections looked fine, expecting two of the elbow rubbers are split. Could replace as I do have spares, but will check they run first.
Bottoms were internally grubby, looks like contaminated fuel at some point as these had been on one of my GTs in 2009 and took off as kept stalling at tick over, which potentially was some of this stuff stuck in the jets. At least that's my working theory for now as the rest looks pretty good and all parts cleaned up well.
All dismantled parts ultrasonically cleaned for about 90 mins at 80 degrees. Then thoroughly washed again in clean water and then all jets and airways cleaned with brushes and rechecked.
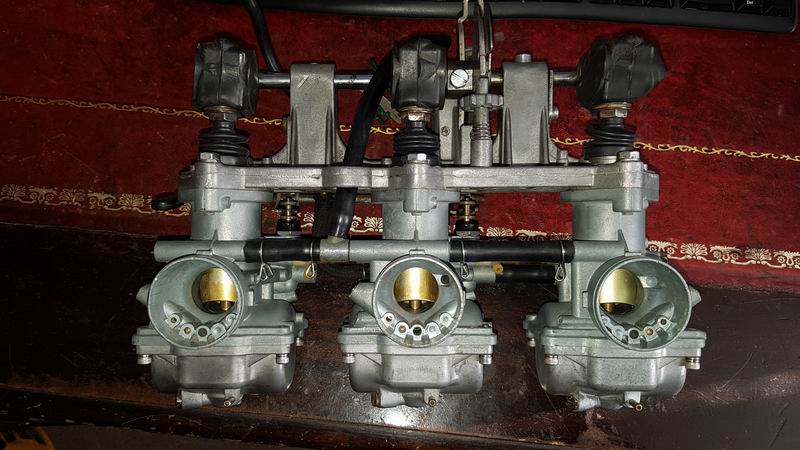
Completed rebuild. Need new elbow rubbers for LHS & RHS and also set of jubilee clips for the top (which hold the rubber in place). Not needed to test on bike though, so can wait.
Fitted to bike and performed tests. Everything good.
For the GT380 that's it for now. Other sets will be done as and when I have time and need. A few bits and pieces to do which I'll finish off this week, but overall a successful exercise. Even better that the bike used to perform this work hadn't been standing for at least 5 years.
Next up will be the GT550, but that may be a week or so.
Bits ...
Main Fuel pipes 6mm
Smaller Fuel pipes 4mm
Tools - 10mm & 14mm Spanners, Posi and flat Screwdrivers (need to standard one and a thin one for the Pilot Jet and something like a feeler gauge to measure the gap when setting them up on the bench. Small Jet cleaning brushes and wire.
Nice to have bits - Carb Cleaner spray, Ultrasonic cleaner, Scotchbright, Dremel with various sizes of wire brushes.
